Pholcus Tank Knit-A-Long Part 1: Choosing your Yarn, Measurements, and Gauge
The Pholucs tank is a pattern I’ve been sitting on for over a year. It’s a simple tank pattern that you can customize the straps for. Since it’s so simple, I’ve been hesitant about publishing a pattern…so, instead, I have decided to turn it into a customization-friendly knit-a-long (KAL)!
Over the next few weeks, we will work through the pattern together. I’ll include suggested stitch counts for sizes XS-5XL based on the gauge I provide, but I’ll also included detailed instructions on how to customize the pattern to your own gauge!
Here are the measurements I will be using for sizing, if you plan to use my suggested stitch counts:
Gauge: 20 stitches and 31 rows to 4” (10 cm)
Size notation: XS (S, M, L, XL) (2X, 3X, 4X, 5X)
Actual bust measurements:
28” (32”, 36”, 40”, 44”) (48”, 52”, 56”, 60”)
71 cm (81, 91, 101, 111) (122, 132, 142, 152)
Ease: 4” (10 cm) will be ADDED to each of the sizes above for a finished piece with a bust measurement 4” (10 cm) larger than the actual bust measurement indicated.
Approximate yardage needed for a cropped length tank: 300 (325, 365, 400, 440) (475, 510, 550, 590)
Note: Because this pattern is fully customizable to your gauge and length preferences, I HIGHLY recommend budgeting in some extra yardage. Every yarn will work up differently, and there is a chance that your yardage needs will differ from mine. Additionally, if you choose to make your top longer than recommended, you will need more yardage to do so.
If you have any questions about this KAL, don’t hesitate to reach out to me and I’ll do all I can to help.
With that being said, let’s jump in! This week, we will pick our yarn, get our measurements, and figure out why gauge is so important when designing.
Picking your yarn.

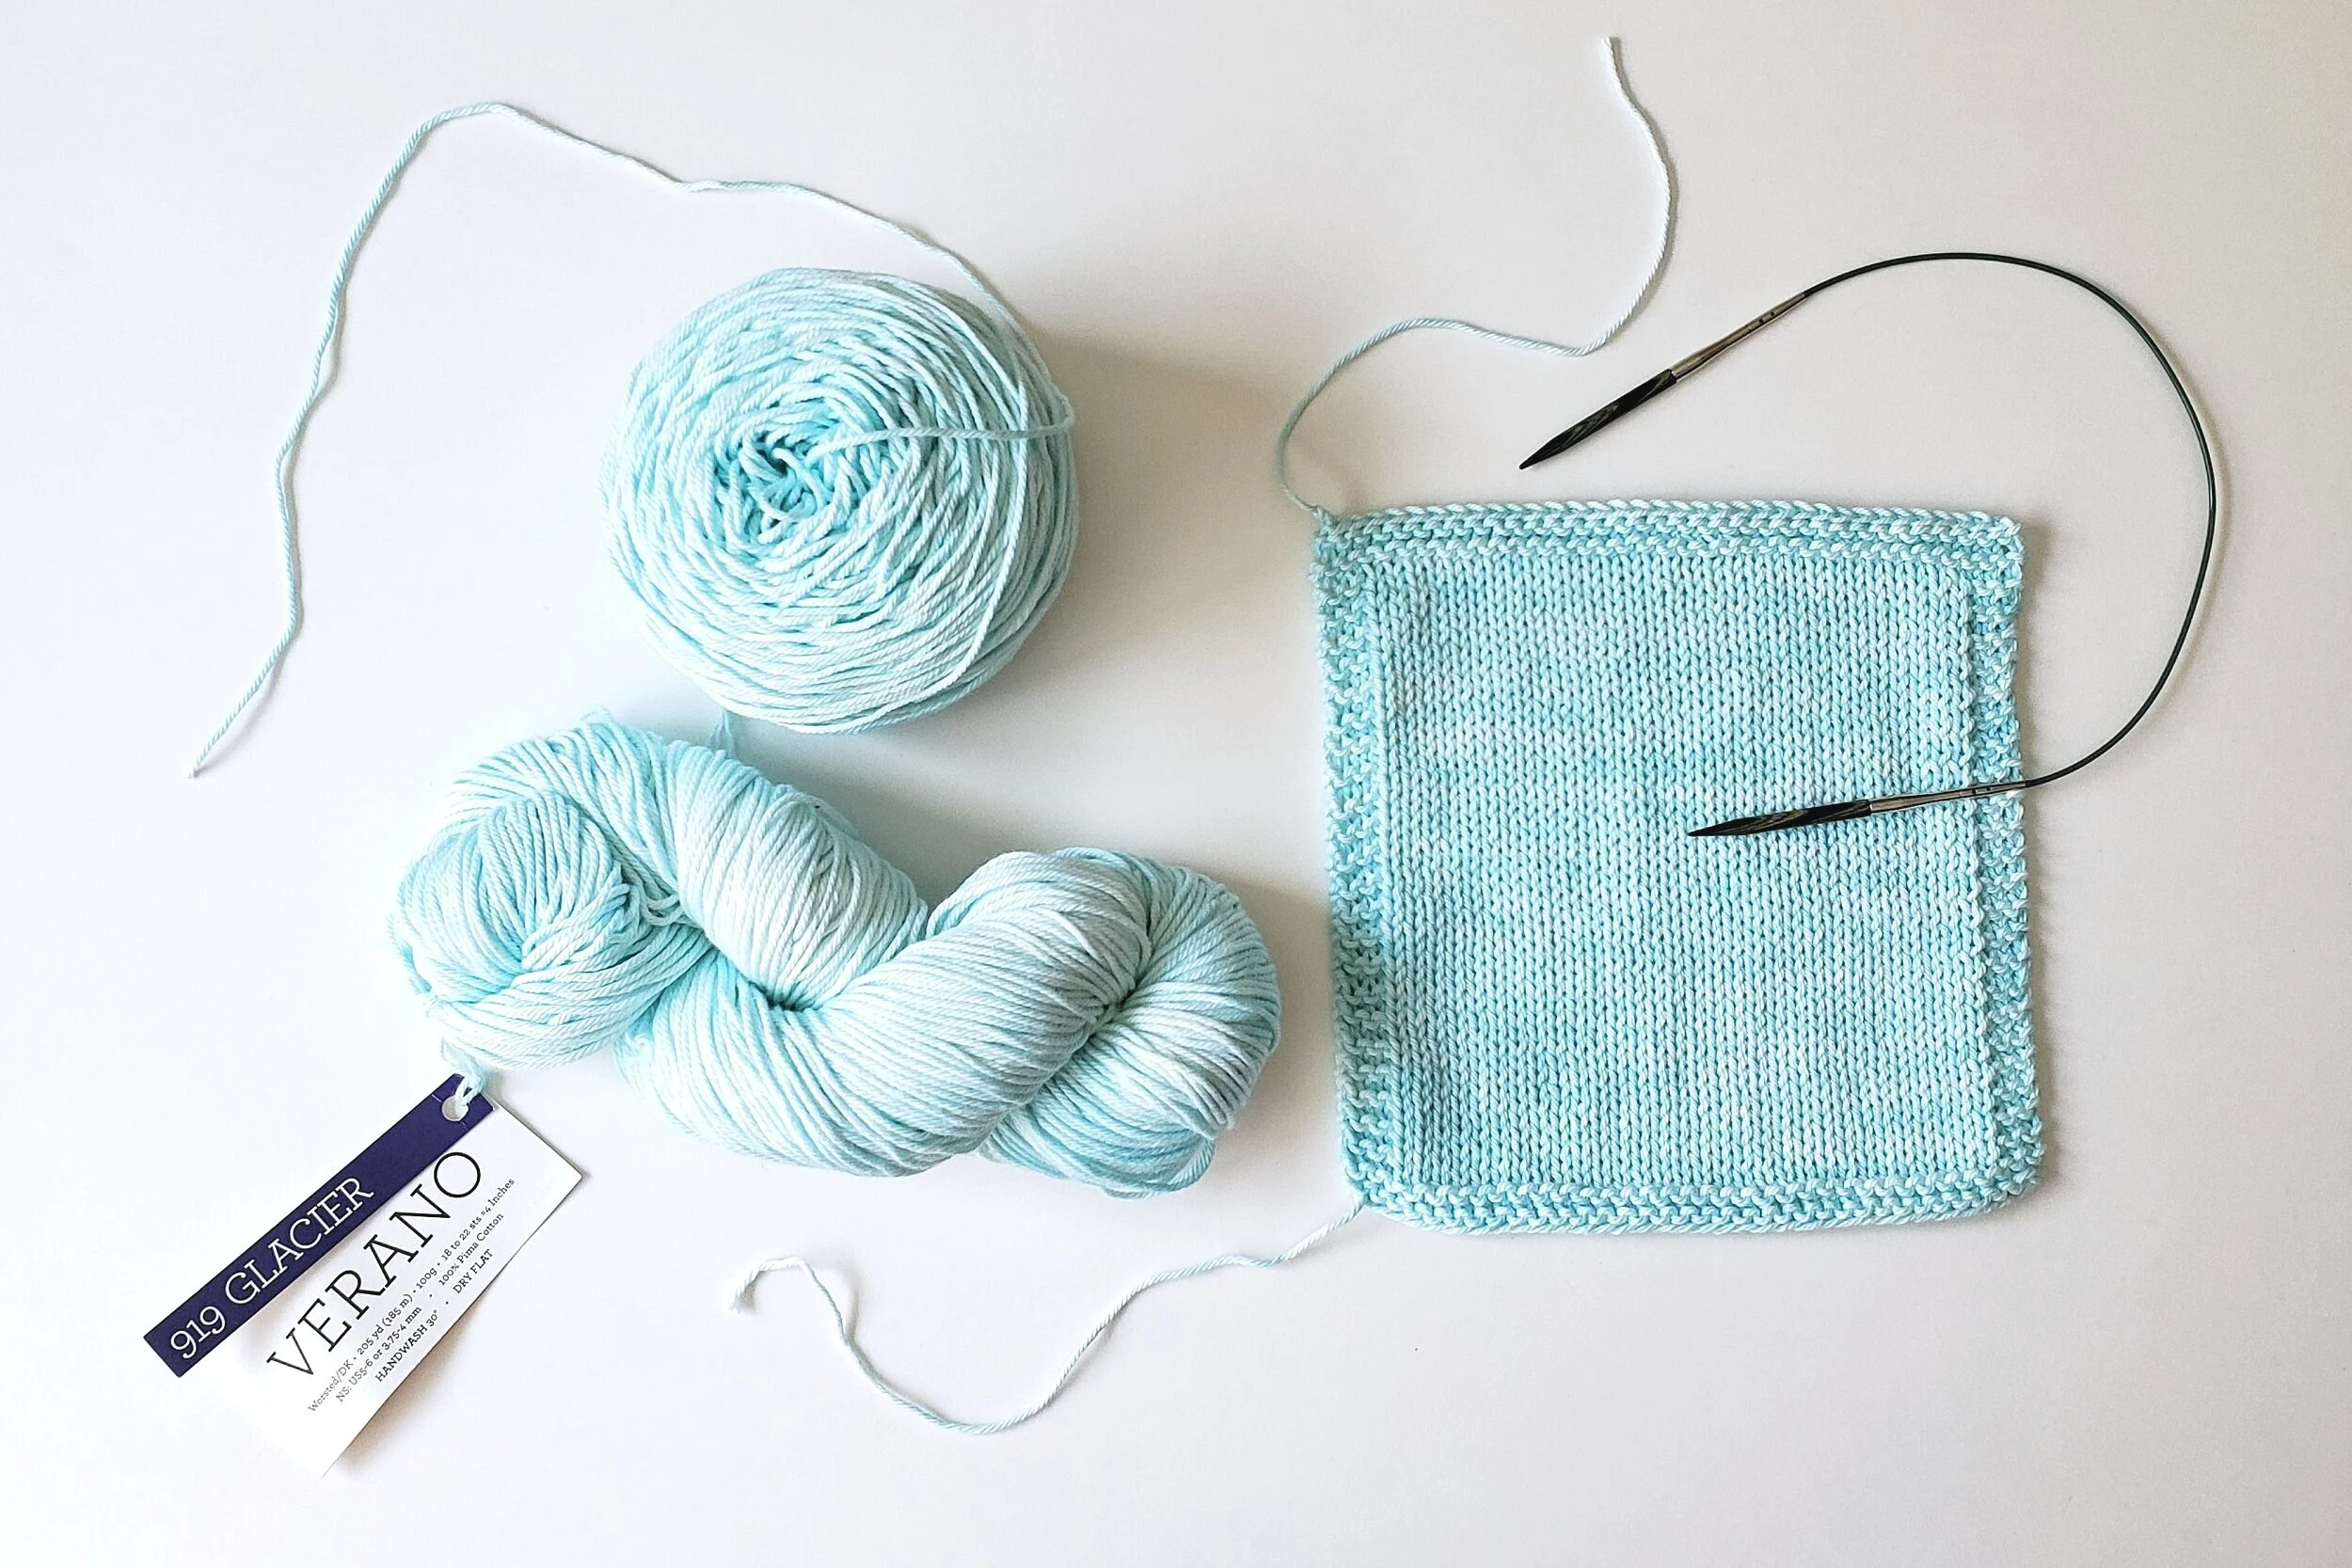
I’ve knit this pattern in a few different yarns already - once with Wool and the Gang cotton, and once in Caron X Pantone bamboo. This time around, I picked Malabrigo Verano cotton in “Glacier.” This yarn has been hanging out in my stash for far too long, and I was feeling drawn to the colors and the fact that it’s a bit lighter; this yarn sits between a worsted and DK weight.
When you’re choosing a yarn, think about when you want to wear this top. Do you live in a warm climate (like me) and want to wear it over the summer? Cotton and bamboo fibers are a great, breathable choice, but you might want to stay away from wool or synthetic fibers (like acrylic). If you’re looking to use this as a layering or transition piece and don’t mind it being a bit cozy, wool or synthetic fibers are a great choice. You can knit this top in any type of yarn you want, as long as you remember that different fibers may be better or worse for the type of garment you want.
Remember, I’m providing you ways to completely customize this pattern to your yarn, gauge, and measurements. I would encourage each of you to go stash diving for something that you’ve been hanging on to for too long and want to give new life to.
Getting your measurements.

The next step is to get your measurements. For this top, the only important measurement I use is your bust measurement. This is the width around the widest part of your bust, usually at your nipple line. There are two simple ways to get this measurement:
Use a flexible tape measure (like the one pictured above) and simply wrap it around you. This is the most accurate way to get your measurement, but you do need to make sure that it’s resting gently against your skin and not too tight (giving you a too-small version of your bust) or too loose (giving you a too-big version of your bust).
If you don’t have a flexible tape measure, you can use a piece of string and a regular tape measure or ruler. You wrap the string around your bust, making sure it’s accurate to your size and not “tight” or “loose,” and cut the string to the same length as your bust measurement. Then, you can use your regular tape measure or ruler to carefully measure how long the string is. It’s important to know - if the string you used has any stretch to it, this might distort your measurements. Make sure the string is relaxed when wrapped around you, and similarly relaxed when you are measuring its length afterwards.
Make sure you write down your bust measurement, as you will need it later regardless of if you plan to use my recommended stitch counts or custom-size your piece - you will still need to pick a size!
Gauge.

I know, I know. No one likes to knit a gauge swatch. But let me tell you - unless you have knit so much that you can truly know what your gauge will be before you knit a swatch, you need to knit a swatch.
The first choice you will have to make is what size needles to use with your yarn. The Malabrigo Verano I chose recommends a 3.75 or 4 mm needle, but I know I prefer my fabric to be a little looser. Initially, I started swatching with a 5 mm needle, but the fabric was just coming out too loose and didn’t provide the coverage I wanted, so I settled on a 4.5 mm needle for this knit. I really recommend you test out a few different needle sizes before settling on one, so you can determine which one creates your favorite fabric.
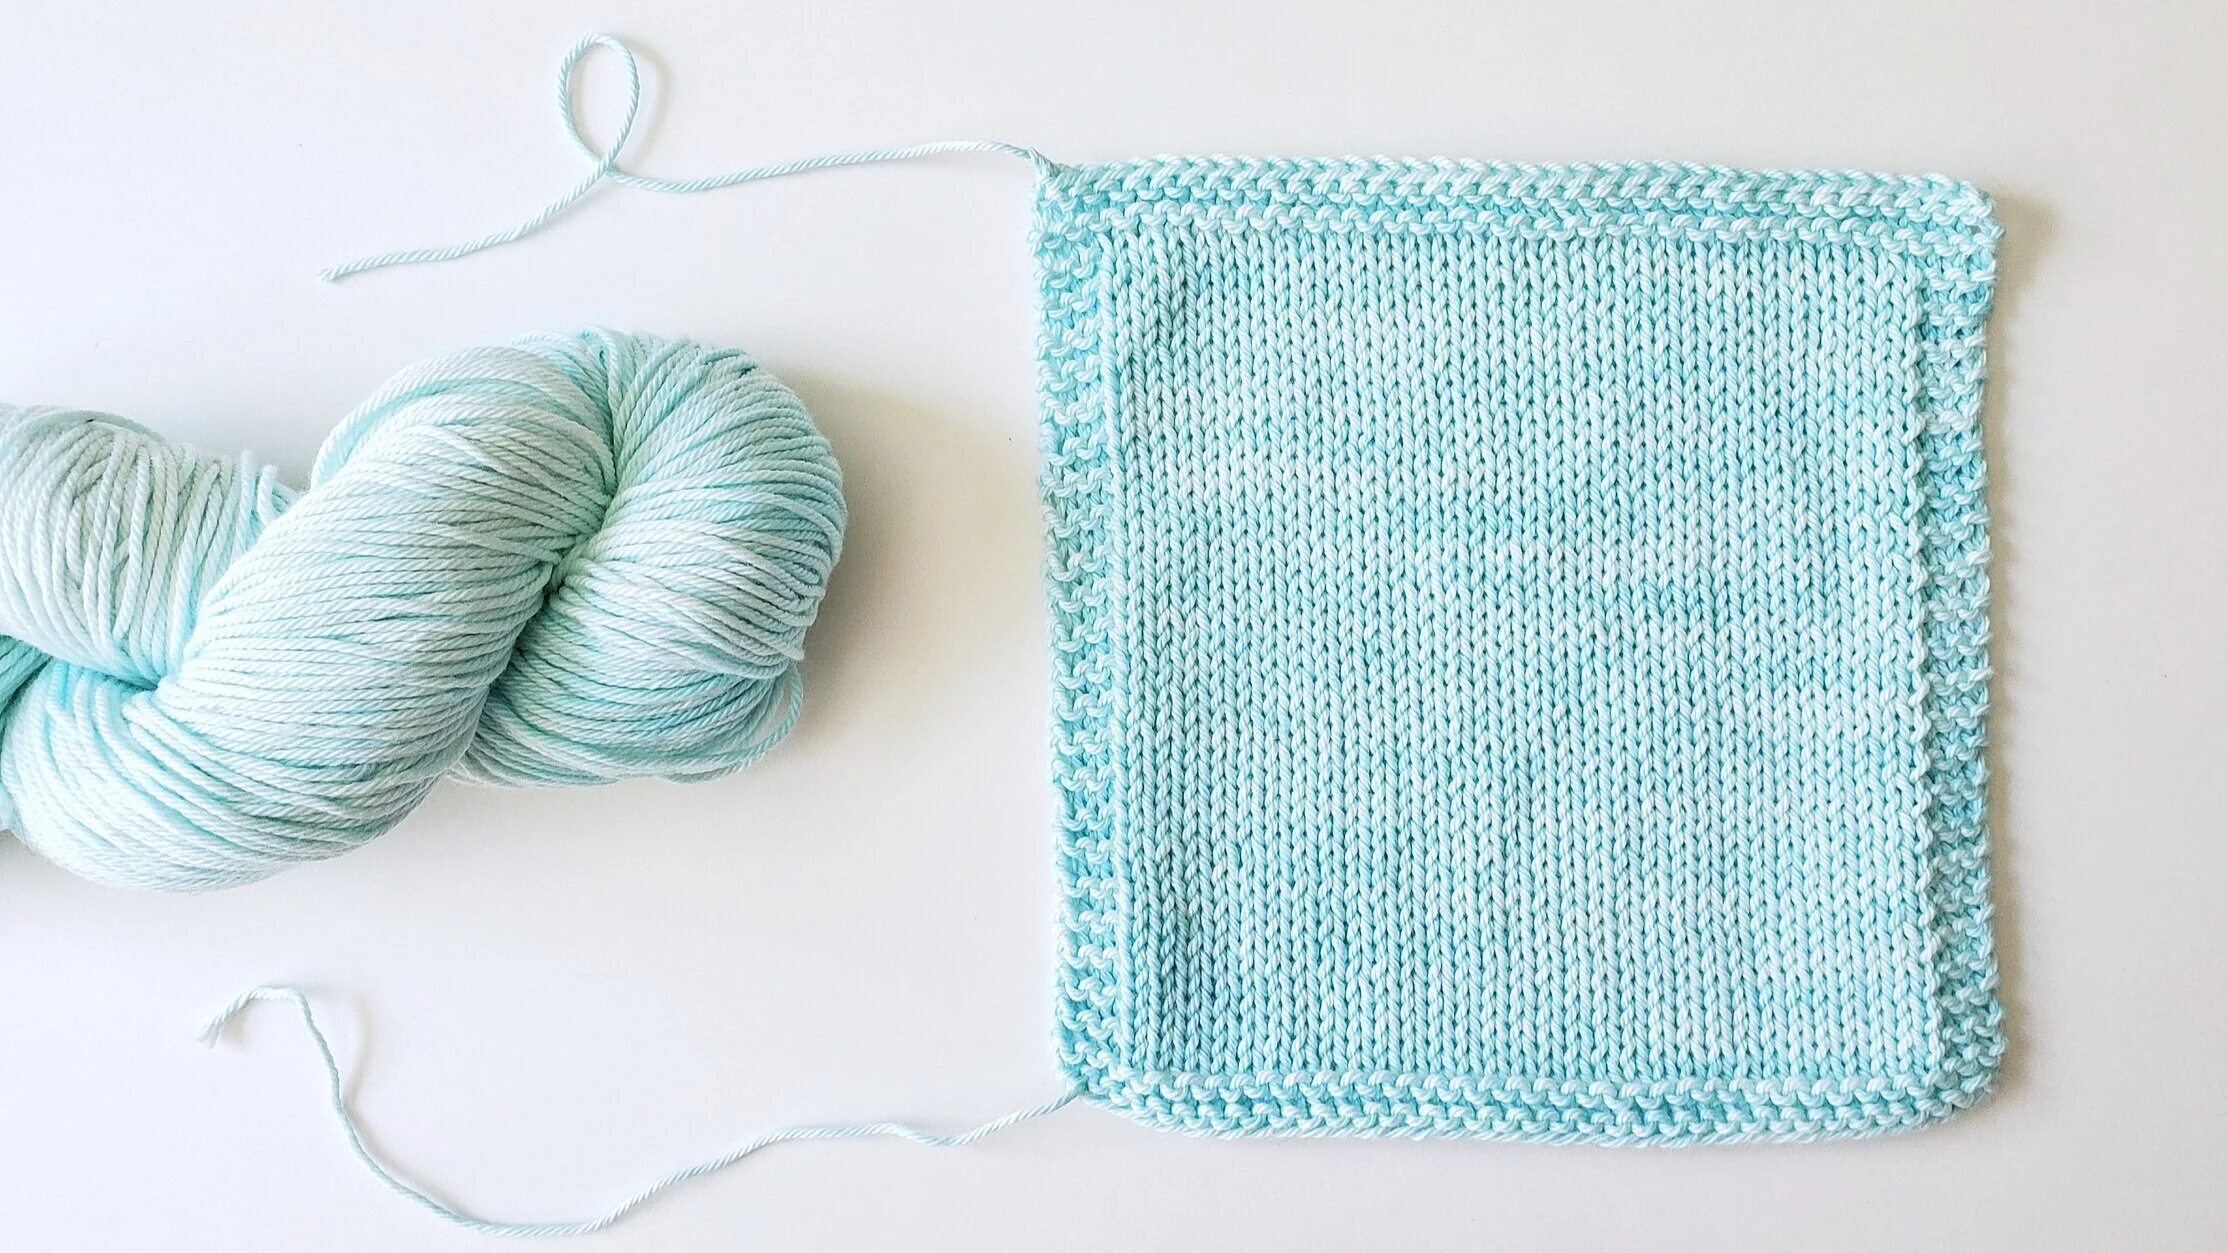
With my 4.5 mm needles and my yarn, my initial gauge was 20 stitches and 28 rows in a 4” (10 cm) square. But here’s the thing - I’m using cotton yarn, which I plan to wash in the washing machine on delicate and dry in the dryer on delicate (shhh…I know I’m a terrible yarn person, but I just can’t stand fibers that are difficult to care for). I KNOW, from my experience knitting with cotton, its gauge can definitely change if you run it through the washer and dryer - it shrinks! If I were to base all my calculations off of my initial gauge, the top might not fit anything like I want after being run through the washer and dryer.
Whatever yarn you are using, you need to treat your swatch in the same way you will treat your garment before getting your official gauge. If you’re using cotton and plan to throw the finished piece in the washer and dryer on delicate, do that with your swatch. If you’re using a wool yarn and plan to hand wash and lay flat to dry, do that with your swatch. If you never plan to wash your garment, you can do that with your swatch too!
After washing and drying gently, my gauge was adjusted to 20 stitches by 31 rows per 4” (10 cm) square. My stitch gauge didn’t change, but my row gauge did. Depending on the yarn you use, your stitch gauge might change, so don’t count on it staying the same!
If you plan to use my suggested stitch counts throughout your piece, you will need to have 20 stitches in 4 inches/10 centimeters for your gauge. Your row gauge won’t matter as much, since you will be knitting portions of the tank until it’s as long as you want.
Finally, a tiny bit of math if you want a custom-sized piece.
Once you have your bust measurement and your gauge, you are able to custom-size this piece. Follow the steps below to get your total stitch count around your bust if you are working on a piece that will be custom-sized.
I’ll show you my math for my information, so you can see an example.
You will start with your actual bust measurement, either in inches or centimeters. My actual bust measurement is 40”, or about 100 centimeters.
Next, you need to determine if you want some positive ease. I want my piece to have some positive ease, but not a ton. Positive ease is extra inches you add to the garment to make it a bit looser than your actual measurements. I know from the previous times I have knit this pattern that I like about 4” (10 cm) total positive ease so that it is slightly flowy around my bust.
Add your ease to your actual bust measurement to get the finished bust measurement of your top. My actual bust measurement (40” or 100 cm) plus ease (4” or 10 cm) makes my finished measurement 44” or 110 cm.
Next we need our gauge per inch or centimeter from our swatch after washing or blocking. I am going to break this down into two bullet points, one for inches and one for centimeters:
Inches: I need to take my gauge of 20 stitches per 4” and determine how many stitches that is per inch. If I want to find this out, you just divide your stitches (20) by the number of inches you used to measure gauge (4). This gives me 5 stitches in 1”. It’s OK if this number is a decimal.
Centimeters: I need to take my gauge of 20 stitches per 10 cm and determine how many stitches per centimeter. If you want to find this out, you divide your stitches (20) by the number of centimeters you used to measure gauge (10). This gives me 2 stitches per cm. It’s OK if this number is a decimal.
For your last step, you will use your gauge per inch or per centimeter to figure out how many total stitches you will need around the bust of your piece. Since I want my finished piece to measure 44”, and I know my gauge per inch and per centimeter, I can simply do some multiplication to figure out how many stitches I will have around the piece. I’ll again break this into separate bullet points for inches and centimeters:
I take my (44” finished piece measurement) X (5 stitches per inch) = 220 stitches. This will be the total number of stitches I have all the way around the bust of my top.
I take my (110 cm finished piece measurement) X (2 stitches per cm) = 220 stitches. This will be the total number of stitches I have all the way around the bust of my top.
Note your total number of stitches from Step 5 above, and you’ll be ready to start knitting with the next blog post!
Here’s what you will need for the next post:
In the next post, we are going to jump right into knitting. You will need:
your needles - I recommend using circular needles for this project, but it can be knit on straight needles if you prefer
your yarn
some scraps of yarn about 10 inches (25 cm) long for temporary cast-ons
some stitch holders or longer scraps of yarn for placing pieces of your work on hold