Juniper Blanket
The Juniper Blanket was crafted in a frenzy, very shortly before our baby girl was born. I realized I didn’t love anything I had made for her so far - nothing was quite right. I wanted something soft, simple, textured, warm, and without holes. I casted on, and I just started knitting.
This blanket is worked on the diagonal, mainly in garter stitch. You will need to know how to knit, purl, and work simple increases and decreases. Even though the techniques are simple, the texture of this blanket is beautiful and subtle.
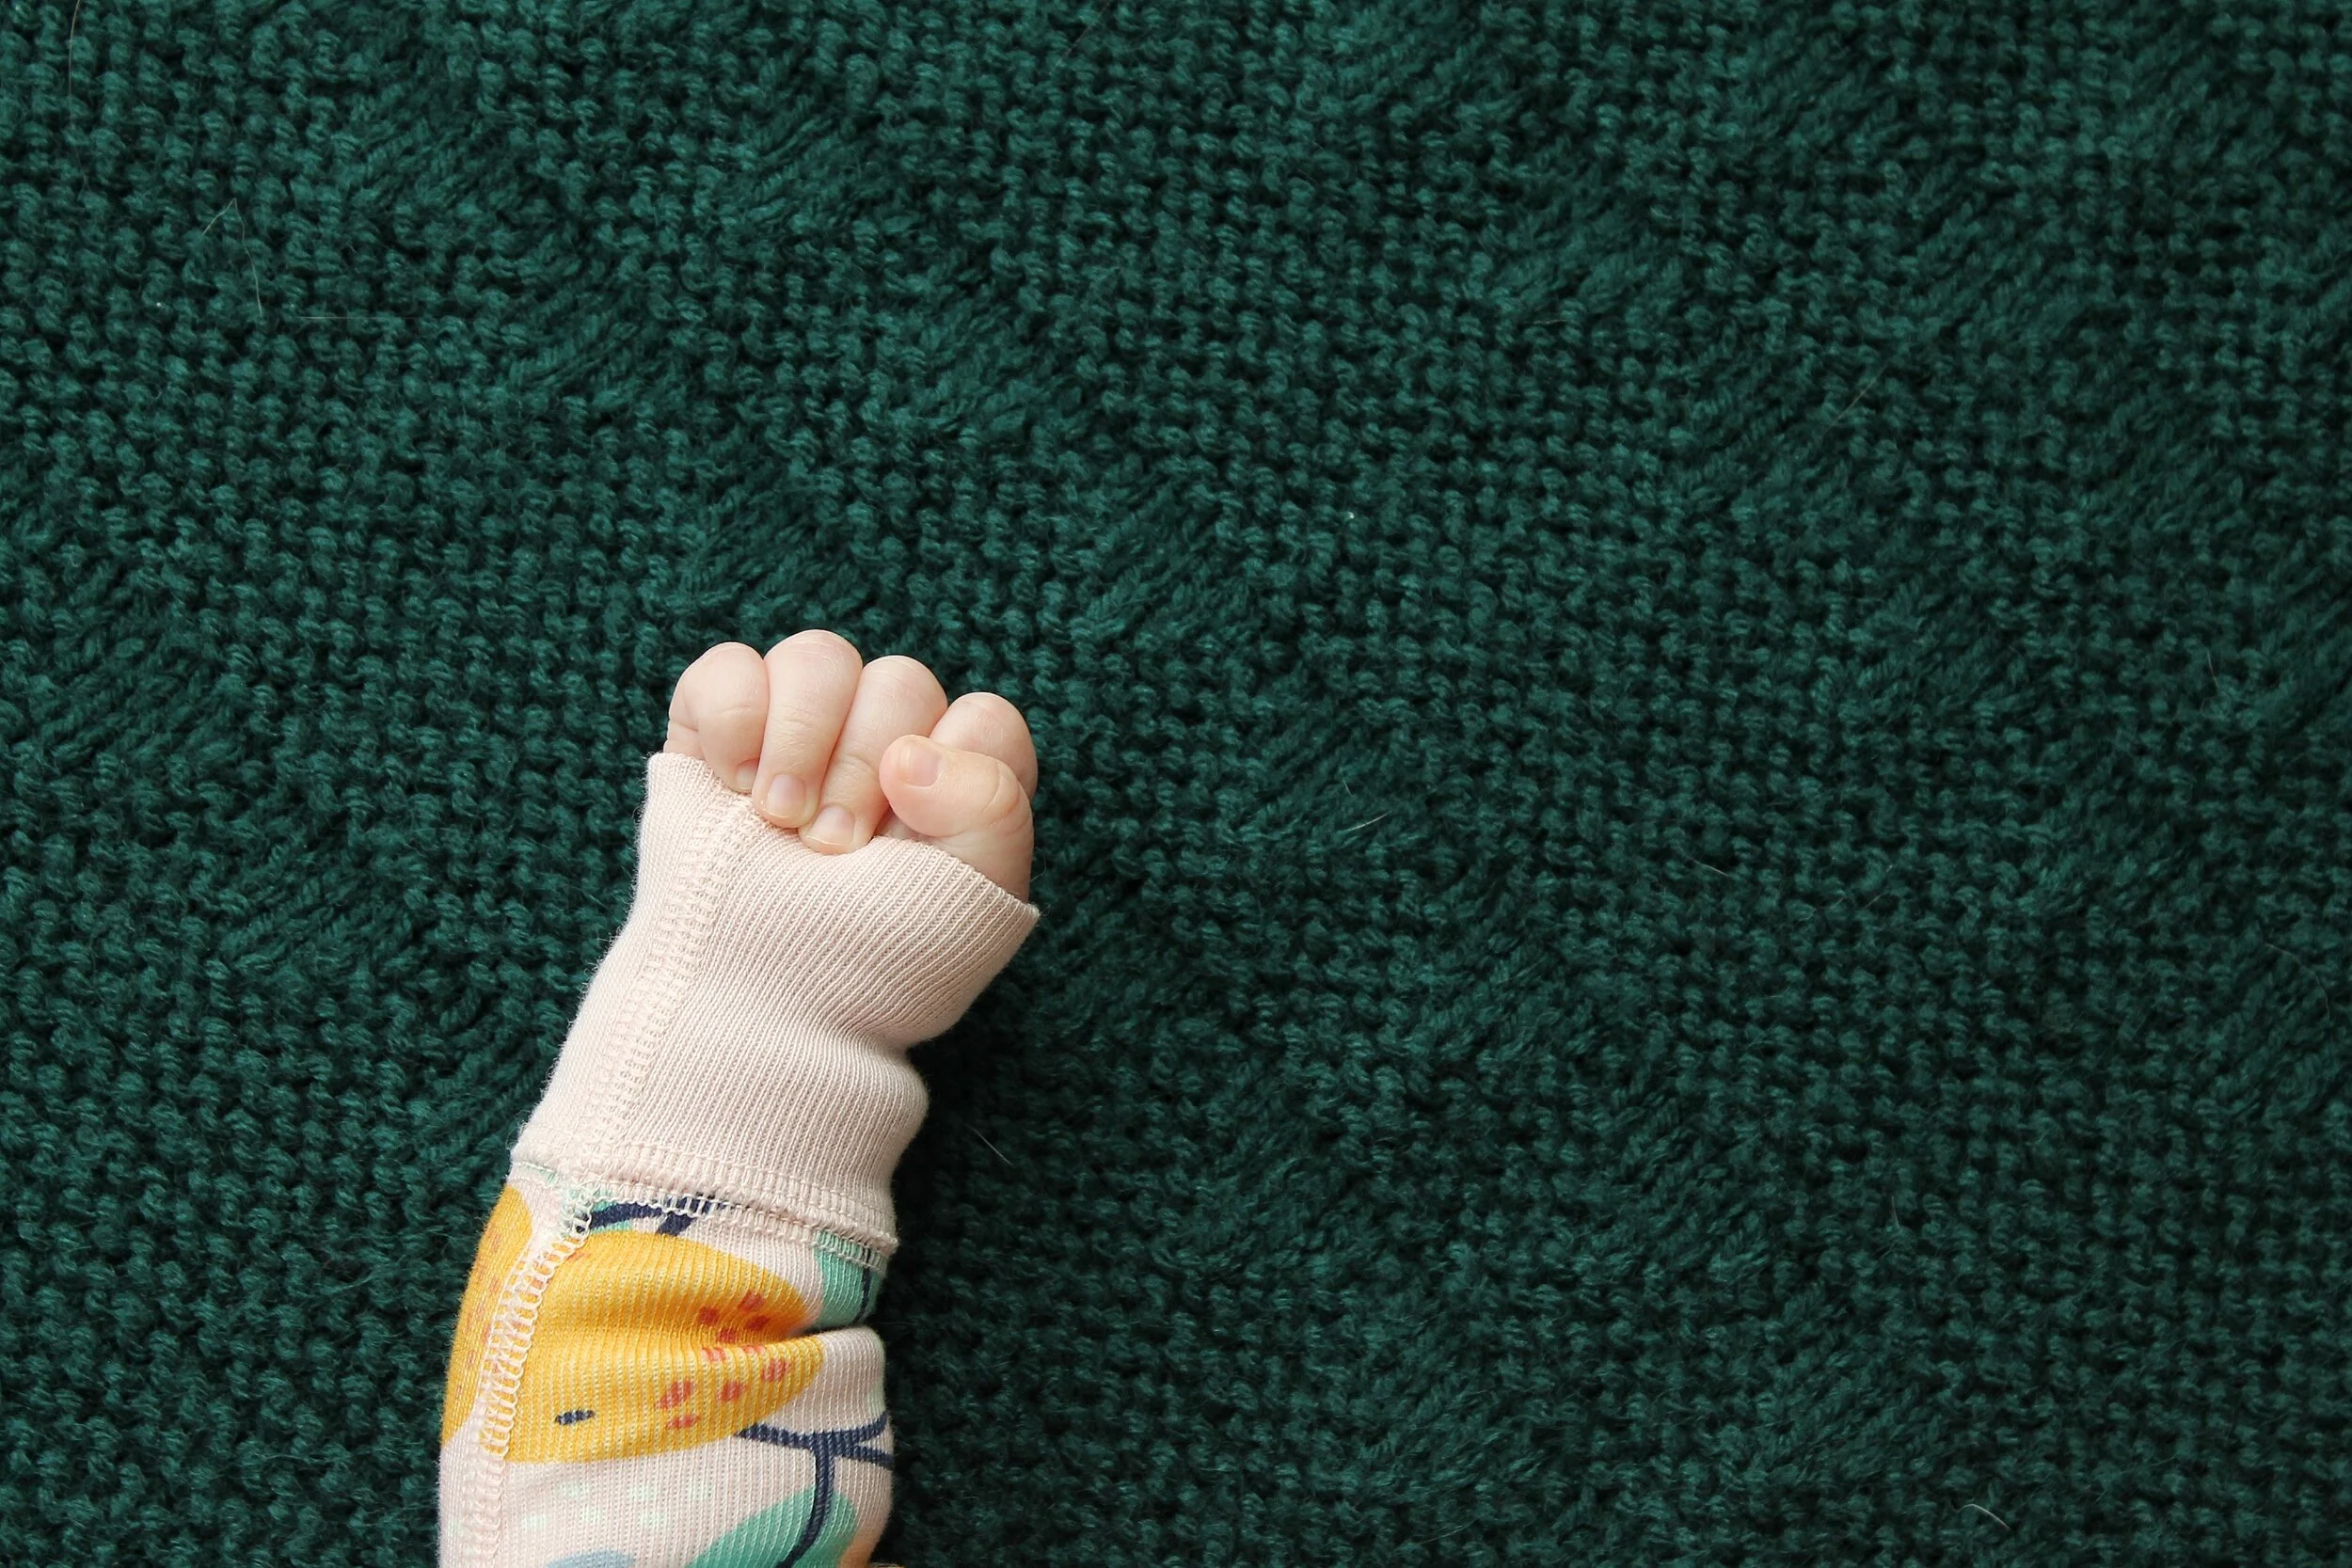
We use this blanket all the time when we take miss Juniper for walks. It’s the perfect size for a car seat or stroller blanket. It’s cozy, soft, and her little fingers don’t get caught in any holes.
The pattern was born of love, and I want to share it with all of you for free on my blog. If you would like a fully-formatted PDF of this pattern with a row tracker to keep you organized, you can find that in my Ravelry and Etsy stores for a small fee.

The Juniper Blanket
Supplies:
approximately 1000 yards of worsted weight (category 4) yarn
5 mm knitting needles, or size needed to obtain gauge
darning needle (for finishing)
Gauge: 19 stitches x 36 rows = 4” x 4” in garter stitch.
Finished size: approximately 30” x 26”
Abbreviations and Required Skills:
Knit (k)
Purl (p)
Knit into the front and back of the same stitch (kfb)
Knit 2 together (k2tog)
Slip stitch (s)
Pass slipped stitch over (psso)
Right side (RS)
Wrong side (WS)
Stitch/stitches (st/sts)
Notes:
I used Lion Brand Pound of Love yarn, which washed up very soft! It’s machine washable and dryable, which is a huge bonus for baby blankets!

Pattern
Cast on 1.
Row 1: k into the front of your st, but do not drop the st from your left needle. K into the back of the same st. K one more time into the front of the same st, and drop from your left needle. (3 sts).
Row 2 (WS): k all sts.
Row 3 (RS): kfb, k until 1 st remains, kfb. You will have increased by 2 sts total.
Rows 4-29: repeat row 2 when working WS rows and row 3 when working RS rows. You should have 31 sts at the end of row 29.
Row 30 (WS): *k1, p5*. Repeat within * * until 1 st remains, k1.
Row 31: repeat row 3.
Row 32: *k3, p3*. Repeat within * * until 3 sts remain, k3.
Row 33: repeat row 3.
Row 34: *k5, p1*. Repeat within * * until 5 sts remain, k5.
Rows 35-41: repeat row 2 when working WS rows and row 3 when working RS rows. You should have 43 sts at the end of row 41.
Rows 42-46: repeat rows 30-34.
Rows 47-65: repeat row 2 when working WS rows and row 3 when working RS rows. You should have 67 sts at the end of row 65.
Rows 66-70: repeat rows 30-34.
Rows 71-77: repeat row 2 when working WS rows and row 3 when working RS rows. You should have 79 sts at the end of row 77.
Rows 78-82: repeat rows 30-34.
Rows 83-89: repeat row 2 when working WS rows and row 3 when working RS rows. You should have 91 sts at the end of row 89.
Rows 90-94: repeat rows 30-34.
Rows 95-113: repeat row 2 when working WS rows and row 3 when working RS rows. You should have 115 sts at the end of row 113.
Rows 114-118: repeat rows 30-34.
Rows 119-125: repeat row 2 when working WS rows and row 3 when working RS rows. You should have 127 sts at the end of row 125.
Rows 126-130: repeat rows 30-34.
Rows 131-149: repeat row 2 when working WS rows and row 3 when working RS rows. You should have 151 sts at the end of row 149.
Rows 150-154: repeat rows 30-34.
Rows 155-162: repeat row 2 when working WS rows and row 3 when working RS rows. You should have 163 sts at the end of row 162.
Row 163: kfb, k until 2 sts remain, k2tog. You should still have 163 sts.
Row 164: k all sts.
Rows 165-200: repeat row 163 when working RS rows and row 164 when working WS rows.
Row 201: s, k, psso, k until 2 sts remain, k2tog. You will have decreased by 2 sts total.
Row 202: k all sts.
Rows 203-207: repeat repeat row 201 when working RS rows and row 202 when working WS rows. You should have 155 sts at the end of row 207.
Row 208: *k5, p1*. Repeat within * * until 5 sts remain, k5.
Row 209: repeat row 201.
Row 210: *k3, p3*. Repeat within * * until 3 sts remain, k3.
Row 211: repeat row 201.
Row 212: *k1, p5*. Repeat within * * until 1 st remains, k1.
Rows 213-231: repeat repeat row 201 when working RS rows and row 202 when working WS rows. You should have 131 sts at the end of row 231.
Rows 232-236: repeat rows 208-212.
Rows 237-243: repeat repeat row 201 when working RS rows and row 202 when working WS rows. You should have 119 sts at the end of row 243.
Rows 244-248: repeat rows 208-212.
Rows 249-267: repeat repeat row 201 when working RS rows and row 202 when working WS rows. You should have 95 sts at the end of row 267.
Rows 268-272: repeat rows 208-212.
Rows 273-279: repeat repeat row 201 when working RS rows and row 202 when working WS rows. You should have 83 sts at the end of row 279.
Rows 280-284: repeat rows 208-212.
Rows 285-291: repeat repeat row 201 when working RS rows and row 202 when working WS rows. You should have 71 sts at the end of row 291.
Rows 292-296: repeat rows 208-212.
Rows 297-315: repeat repeat row 201 when working RS rows and row 202 when working WS rows. You should have 47 sts at the end of row 315.
Rows 316-320: repeat rows 208-212.
Rows 321-327: repeat repeat row 201 when working RS rows and row 202 when working WS rows. You should have 35 sts at the end of row 327.
Rows 328-332: repeat rows 208-212.
Continue working row 201 when working RS rows and row 202 when working WS rows until 3 sts remain. Work one final WS row, then proceed to final row directions. Your final WS row should be 360.
Row 361: s, k2tog, psso

Cut yarn and pull the yarn tail through your one remaining stitch. Weave in ends and block if desired.
If you make this blanket, I would love for you to share it with me. You can tag me on Facebook or Instagram, and use the #jellyKNITTING and #JuniperBlanket. I would be so excited to see more babies with blankets to match our little girl’s.
